Sunday 26 April 2015

Fashion drawing tutorials

Hi blog readers, So since I have exams and all coming up I decided that I don't really have time to write long lengthy blog posts. So instead I decided to start making fashion drawing tutorials for you guys.

I have a good quality camera but I don't quite know to set it up so it can film me drawing, I understand for that I have to buy a copy stand or tripod, maybe soon i'll invest in that. Unfortunately today my iPod broke and that's what I would of used to film the tutorials, but until I replace that battery i'll be using my phone. It doesn't have the best camera but it's all I've got at the moment and everyone has to start somewhere! 

Okay, so this post isn't actually a tutorial but it's telling you all about the tutorials I'm planning to make. I'll be posting hopefully on Saturdays and Sundays There's different parts of fashion illustration that you need to master to make everything click in and look nice. These are the categories (basically the videos i'll be doing) 

Info
  • Materials 
  • Developing your style 
Basics
  • Drawing the fashion figure (under this comes many videos for different positions and proportions)
  • Drawing a Fashion face
  • Skin rendering 
  • Hair
Fabrics
  • Drawing Denim
  • Drawing latex
  • Drawing chiffon 
  • Drawing silk
  • Drawing lace 
  • etc. 
Designer clothing
  • Here I'll start making videos on how to draw some of the clothes you've seen recently on runways by famous designers. 
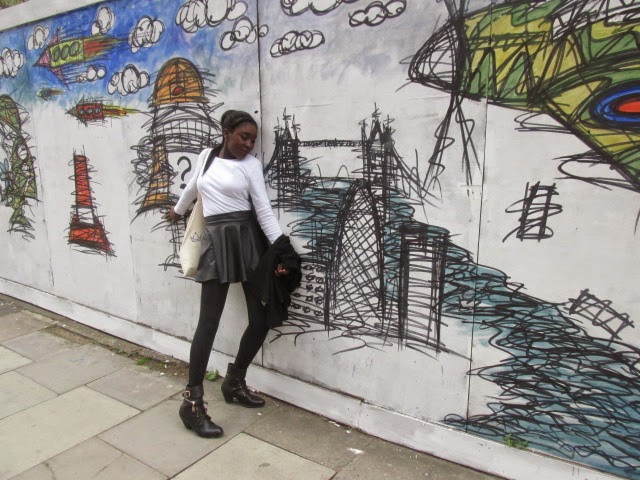
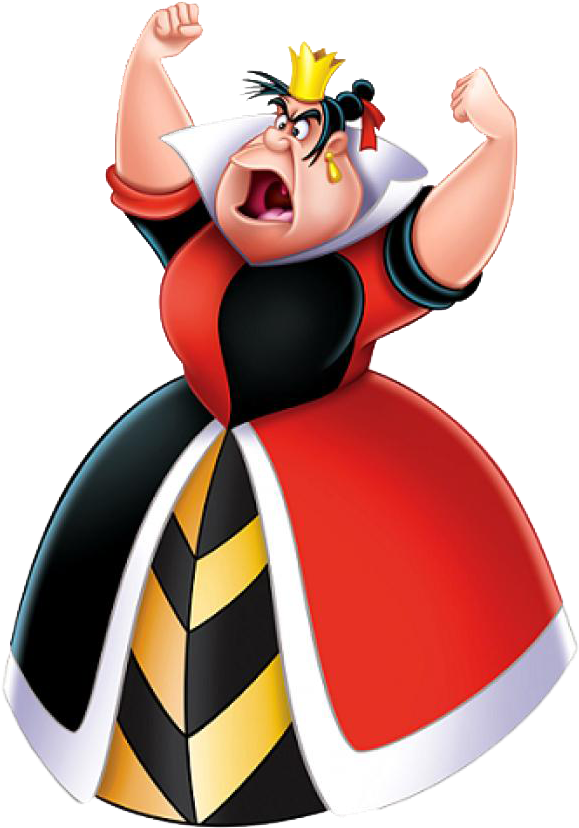
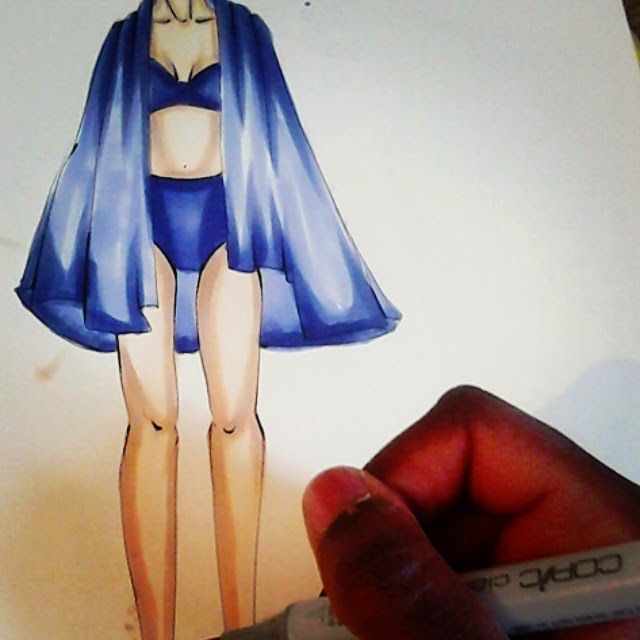
Want to learn a design like this... 
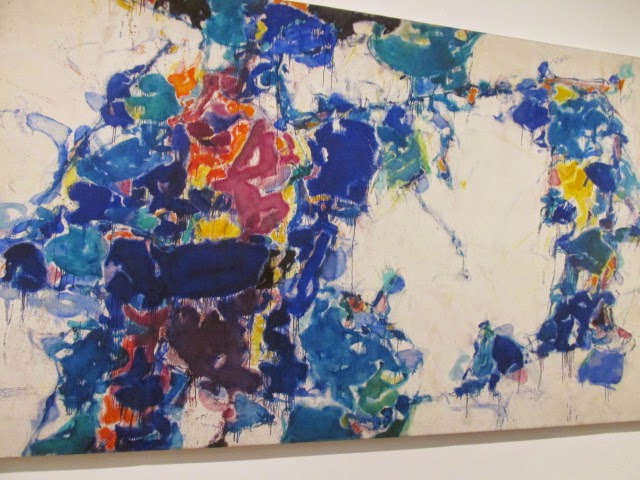
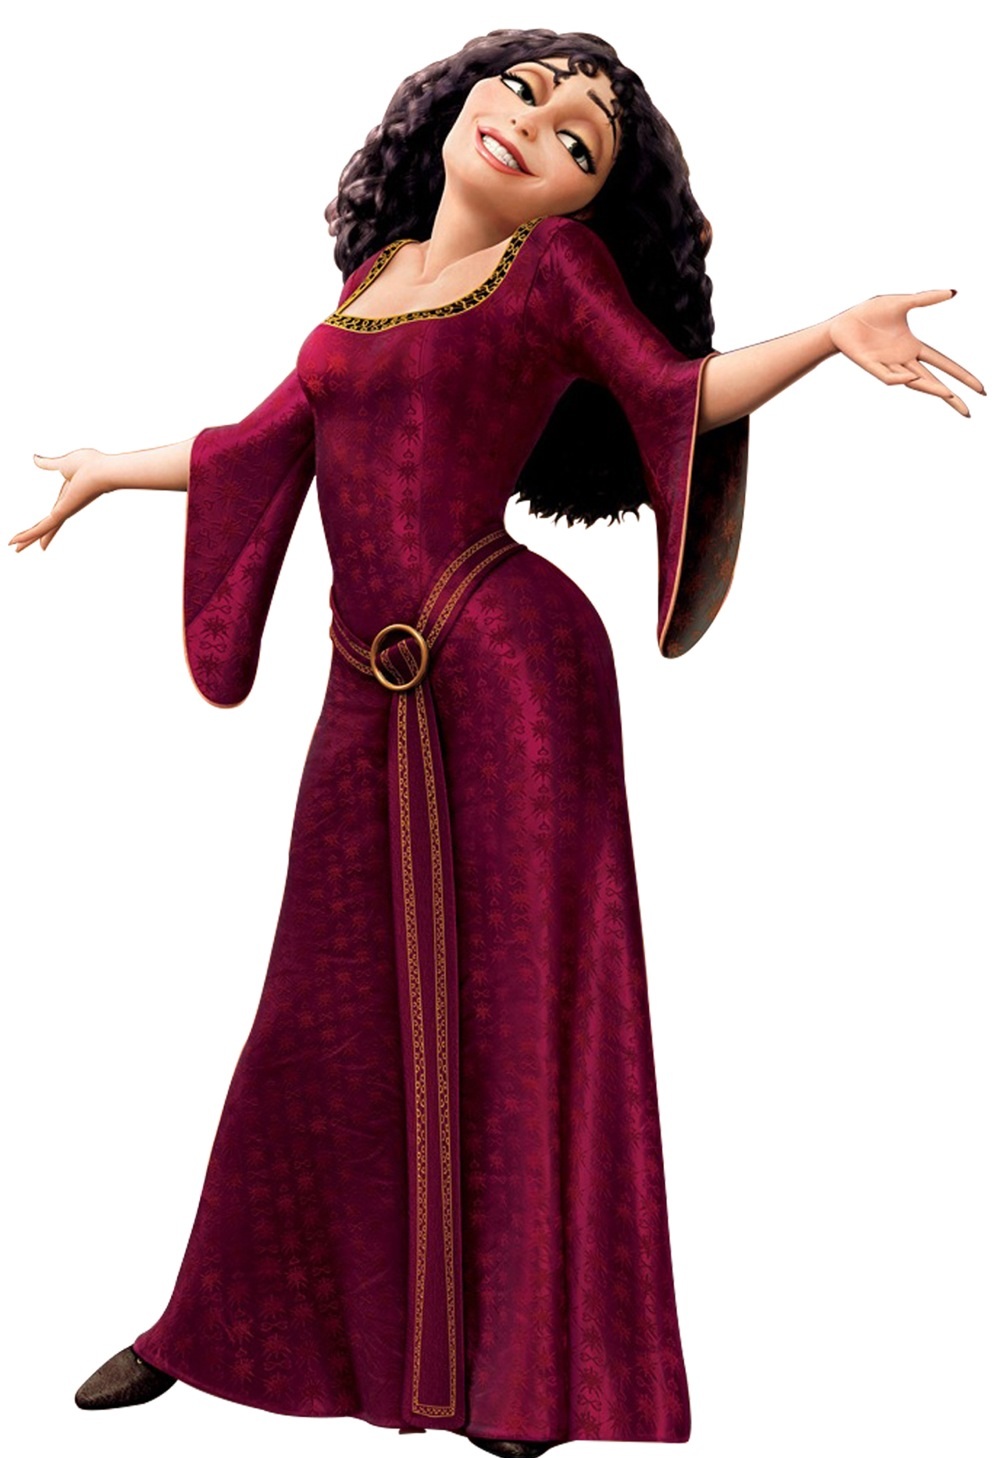

OR LIKE THIS...? 

Then stick around! 

I'm excited to make these videos, Can I just see how many people would watch my videos? Comment ''Fashion'' below if you'd be interested. If there's anything you think I could add to my videos please say. Also, just because this has started doesn't mean Loveheart Doodles stops! It just means that the posts here won't be as long as before. I'm pretty sure nobody likes long posts anyway right? 

Lauren x

Thursday 23 April 2015

My Day (ARGH).

You guessed right, this is a rant post. Guys, i'm seriously having trouble keeping up with life and everythig in it. The main reason i'm feeling like this is because of exams.

I have exam paranoia and stay up till the early hours of the morning revising... like is this real? I then get up again around 6, and I remember nothing I revised. Yesterday I was supposed to have a French speaking and totally skived off. I just couldn't, I wasn't prepared for the exam and I wasn't prepared to fail either.

Drawing and blogging calms me down, I'm either illustrating my thoughts out on paper or writing an online diary to you guys (my friends). Lately I've not been able to do much of these things and you would have noticed that I have a terrible blogging schedule and of late I blog like every two weeks.

I thought I'd write you a blog post about my Literature examination experience, so you guys know how and how not to things in the future.

To start of the day I had an English Literature examination on Romeo and Juliet... yay. It was meant to be done the day I was skiving off school because I didn't want to do French. The rest had all done it, meaning I had to do my exam today whilst everybody else moves on with Romeo and Juliet. Ms Caroto wanted me in exam conditions but she said she wouldn't move me to another class to do my exam so I stayed in the room. I'm halfway in the middle of my exam and I hear zzzz....zzzz...zzzz. What was calling me at this time? I prayed silently that it was just vibration and so nobody could hear... however the ringtone went off. The classroom was silent. My heart raced. All eyes on me. The teacher asked who it was, I owned up straight away... the last thing I wanted was a phone check, for everybody's phone to get confiscated. She told me hand it into the reception at once. I felt like just shrivelling up into a ball. Shaking, I managed to stand up and find my way out of the class. I speed walked to the toilet and calmed down, called a close friend and they calmed me down. I wasn't going to put it in the reception because I use it at Lunch and Break and get bored without it. I took the battery out and went back into class and quietly continued with my exam, hoping that I wouldn't get a zero for having an electric device on me at the time.

What to do next time: Don't run away in exams and always turn your phone to SILENT!

Tuesday 14 April 2015

Visiting Tate Modern

Hey guys, yesterday I visited one of the art galleries in London that I had always wanted to see, that was Tate Modern. Tate Modern is located in Bankside, Southwark. I went with my two best friends Dwa - Micha and Chloe.
From Left to right: Chloe and Micha

Some are not the museum and gallery walk around type. I'm not, but this is art so I was kind of interested. The reason why I went is because our art homework was to show 2 page evidence of visiting an art gallery. I was going to go the Victoria and Albert museum since it's my thing (fashion and textiles) but I had already been there and my art teacher already thinks I stick to one thing too much.

From walking around I could see that the Tate Modern is full of 3D art and photography. It's not so much about fine art and photography. That's the opposite of what I like. I can't stand 3D art, clay, sculptures and all that. I guess that was my fault for not researching what's in the Tate Modern first however, we were already there and I didn't want to get on London's sweaty crowded trains again and find another gallery, so I thought let me just walk around and endure.

The main focus of my trip was actually to spot some good street art after Tate Modern and go to Leake Street and Brick Lane and Camden. Unfortunately this didn't happen because time wasn't on our side but on our way (on the train) at Stratford we saw some pretty interesting graffiti.

Arriving in Southwark station and going on the 5-10 min walk to Tate Modern we saw more street art by an Artist called Nathan Bowen. I quite like his style so I decided to take a picture with it and of it.


This is the point in time where Micha decides her foot is art and therefore it needs to be photographed.


This is the new building they're building - a new tate modern (although I don't think they're knocking the old one down, I think it's an addition). Walking on, we finally arrived at Tate Modern.


Here is some of the artwork I saw and actually liked lol. This piece on the right is called Around the blues and it is by Sam Francis and he used oil paint and acrylic. Forgive me, some of the art your about to see doesn't have descriptions because Micha my amazing photographer decided not to take pictures of the descriptions!


Overall, we did have a good time at the gallery, headed to stratford after and had a bite to eat. I always enjoy wherever I am if my friends are there :). What have you guys been up to this Easter break? If you are on Easter break x

Lauren x


Sunday 12 April 2015

New Art


Hey everyone, recently I've been inspired by different things and i'm about to tell you all about them! Most of the projects I've started are to test my new Copic's and to explore further with my skills (using them). So far that's going well.

1. The Villains collection

I don't like admitting that this is my first proper collection of the year, but it is sadly. However I prefer to make one good collection the whole year than 20 collections in one year and all the outfits not being that nice. This collection is inspired by fictional villains and their clothing. It's like my favourite collection so far because I just think I've generated some amazing ideas that I thought I really never could think off.

The first was the queen of hearts, I kept the initial colours of red and blue and made her dress short and sexy, and added a crown to give the queen some status.

Name of illustration: The Queen of Hearts
Time: 1 Hour and a half
Media used: Normal pencil and eraser, Faber Castell Polychromo's (Light Flesh and White), Copic Ciao markers (E50, E53, E31, E93 And BV31., R35, R37, R46, W-1, E57, E77 and BV29), Unipin fineliners (0.1 and 0.2)


The second illustration happens to be my favourite, this illustration was inspired by the villain of 101 Dalmations - Cruella Deville and the main aim of this design was to design a similar coat to hers. The danger of this coat is that it is very close to looking a bit like leopard print.  

Name of illustration: Cruella Deville
Time: 2 and a half hours 
Media used: Normal pencil and eraser, Faber Castell Polychromo's (Light Flesh and White), Copic Ciao markers (E50, E53, E31, E93 And BV31., Y21, E57, BV13, E49, V29), Unipin fineliners (0.1 and 0.2)


Third is Mother Gothel, from disney's tangled, I kept to the colours (however used a lighter red) and I shortened the dress. I think it still looks a bit angelic for someone who stole a baby and locked them in a dodgy tower for a good couple of years. 

Name of illustration: Mother Gothel
Time: 1 Hour and a half
Media used: Normal pencil and eraser, Faber Castell Polychromo's (Light Flesh and White), Copic Ciao markers (E50, E53, E31, E93 And BV31., R35, R37, R46,  E57, E77 ), Unipin fineliners (0.1 and 0.2)


My latest one is inspired by maleficent, this one is probably the least creative because her original outfit wasn't that creative or hot so I stuck to designing a big coat/cloak.


Random recent drawings:


Thanks so much for reading and looking guys! Tell me which one is your favourite in the comments x

Lauren x


Promarkers for sale.

I am currently selling my promarker collection of 41 pens, because I have my Copic markers and no longer use my promarkers. So I thought I could make some decent money out of them. I am selling them on eBay and the Bid starts off at £20. I bought them for around 1.60 each, so I've really started the bid somewhere you can grab a bargain. Alternatively you can but them now for £55 and they can be yours within 3 days of payment. They're all in working order and most of them I bought late 2014 and this year.

Click here to view the listing


Saturday 11 April 2015

Blogging steps to success


Hey everyone, Today i'm blogging about some of the things that make my life easier when it comes to blogging and how exactly I got to where I am now (18,000 views)!

Disclaimer: I'm not some kind of blogging genius and everything I say is from personal experience.

Successful blogging is split up into different categories in my opinion and i'm going to walk you through all of them.

1. Amazing content

I don't know how many book worms there are out there but the sad truth is that vlogs are more popular than blogs because it's relaxing, no hassle... just watch. However with blogs you have to read them. This means whatever you post has to be stuff that people actually want to read! Here are my top tips and tools for developing amazing content:

Part 1: The title and introduction

  • Make the title of the post Big, Bold and persuasive. - E.g; This post is titled "Blogging steps to success". This appeals to my target audience (bloggers) and it's something most of them would be interested in (how to make blogging successful for themselves)
  • The start of your posts need to be to the point, punchy and exciting. - A lot of people (including me) hate at the beginning when people drone on about things. To catch your readers attention they need to be interested from the beginning and the way you do this is: Let them know what your talking about straight away and what the post will consist of. 
Good example: 

Hey everyone! Today I will be showing you guys how to look the part for Spring with a small budget, a small budget and a creative mind. Keep reading for an awesome tutorial. 

Bad example: 

Hi guys, so spring is here and I was thinking about ways to get into style because the suns coming out and it's so lovely right now. Of late I haven't been blogging much because.... yadadada.... My cat died, My uncle cried and my Chicken got fried.
  • The last bullet point brings me to this one. No one is saying don't let your bloggers know about your life. Just let them know your about to tell them about your life. You can either do this through the title or through the beginning of the post. 
Example 1 (Title) : Blogging Tips to success + Life update 
Example 2 (Post : Today's post is about tips for blogging but before we start i'd like to say... yadayadayada
  • So to conclude on the Post title and the introduction here's a simple format to follow. (The answers are just an example)
Creating a title:

What am I talking about? - Youtube beauty channels 
Who am I telling it to? - Teenage girls who like beauty, fashion and Youtube 
So now think... What are people looking for all the time? - The best

Now... Put it how a girly teenage girl would want to see it E.G; The best Youtube beauty channels - Tutorials and Reviews or 10 Amazing Youtube beauty channels to make you want to be a beautician yourself. 

Creating a post introduction:

What am I talking about? - Pens 
Who am I telling it to? - Artists and pen lovers
What does this post consist of? - A review, A product overview and tips on using the product.

Now... merge it all together and make it! EG; Hey readers, today i've got a post for all you artists and pen lovers. I'm going to be telling you all you need to know about Copic markers. I've got a product overview, general review and loads of tips for using them all coming up in today's post. Without further ado lets get a move on! 

Part 2: The main body of the post
  • Here is basically where you write about whatever you want to write about. However, to get the page views flying in you really should write about what your viewers want to read. Base this on whatever your blog is based on. For example if your blog is a music blog and your doing a post on a certain album or artist, don't blog about only the things you know. Blog about new things too. You can find new information about whoever your writing about easily on Google. 
  • Don't know what to write about? This is something that happens to me a lot, but I have a way of fixing it. My Blog is based on the following topics; Fashion, Fashion illustration, and beauty. So I use a tool called Google Trends which is very helpful. You basically search whatever you want and it all bring up the hottest and newest trends/news in that niche. You can then set email alerts so that whenever something new of that category arrives, it also arrives straight in your inbox. 
Part 3: The conclusion
  • The conclusion is where you cool it off. No new information. If you add more information and then suddenly finish they'll think it's an unfinished post. 
  • This is your time and chance to really interact with your readers with some rhetorical questions. For example if your post was about a certain type of band, ask them "I'd like to hear from you guys, what are your favourite bands?" 
  • Always let your readers know that you're polite by thanking them for reading the post and that you hope that they got something from it. 
  • A way to know if your readers read till the end: "If you read till the end comment squishy!" This tells you how many readers you're keeping interested and how long. 
  • Don't leave your readers hanging, most people don't like that. Use your conclusion as a way of telling your readers what's coming next on your blog. E.G; "Stick around because tomorrow i'll be posting 6 ways to dye your hair!" 
2. A blog that's pleasing to the eye
  • Eyes get hurt by certain colours which just make them feel sick and turn away. By this I mean awful colour clashes such as a yellow background and white font... ew. Use contrasting colours that are pleasing to the eye!
  • Plenty of images and pretty stuff. Blogging is about reading and writing. However you want as much views as possible right? Then you have to think about everybody - Visual learners too. 
3. Networking
  • If your going to be a blogger then you can't be anti social. How in the world are you expecting to get views on a blog nobody knows about. Let people know about it. 
  • Get every social network in the world for your blog. Literally. Twitter, Instagram, Facebook, Pinterest, Tumblr... etc. 
  • Post about your blog constantly, it puts people under pressure to read about it. 
  • Tell your readers to contact you and leave your social network links in your contact page and every so often at the end of your posts. 
  • Little trick: I do this all the time, fetches loads of views. It's called blog hunting. Go to a really famous blog - for example... Zoella, then check her comments. There will be loads of die hard blogger fans who have left their blog address hoping that one day Zoella will look at it. Take the time to click on them individually and check one or two posts out and leave a postitive comment and your blog address. Most people are really nice and do the same back. 
  • I carry around little cards with my blog address on them, they're nothing fancy. I bought plain coloured card from WHSmith's and then wrote my blog address on all of them and I carry them everywhere I go in case I bump into someone who I feel could read Loveheart doodles.
4. General Must do's
  • Pick a catchy name and if your going to change it... change it only once. Once you've done all your networking you've used one link that you've been repeatedly cutting and pasting. Changing the name changes the link and gives you extra work. 
  • Reply to your comments, show your readers that you're interested in what they think and that you know they exist. 
Awesome! I've poured out everything I could to get you guys to do some amazing blogging. I want to take this chance to thank you guys so much for 18,000 views. It's literally amazing. Tomorrow i'll be posting about a new collection I have started illustrating. Please do comment below if any of this post was helpful!. 

Love, Lauren of Loveheart Doodles x

Sunday 5 April 2015

300th Post: Letraset Promarkers vs Copic Ciao REVIEW

Hey Marker Lovers! This is a post for you guys, (all marker lovers). Today I will be comparing the Letraset Promarkers and Copic Ciao markers and I can do it properly now because I have both products. Let's begin, i'll start with a quick overview of both markers for those who don't know what i'm on about lol.


Copic is a Japanese brand and their markers are originally meant for manga artists but illustrators and designers have started using them too. They're are used by many professionals and are known as the markers at the top pricey end of art materials. 

Pro's:
  • Twin Tipped - A broad tip and a thin tip
  • Most high quality marker on the market - It's nicknamed the Worlds best marker because it's of extreme high quality
  • Vibrant, bright and bold colour
  • Refillable 
  • Bullet tip has a paintbrush feel so you can control the strokes easily.
  • 180 colours to choose from.
Con's:
  • Very expensive 
  • Only work best on Copic paper or tough but smooth card
  • Has a certain strange scent
My experience with Copics:

I got my Copic's for my birthday so not that long ago, I got the 72 B set and it cost my parents £149 from eBay. So far I really like them and bit by bit i'm getting the hang of them. My favourite thing about them is the bullet tip and how it's really similar to a paint brush and then you can really control the ink and where it goes.


Letraset is a British Brand, who make different types of markers such as; Flex Markers and Aqua Markers but Promarkers have been their most successful so far. It is important not to get put off by the things you hear people say, because often when doing your research before buying them (like now) you'll see people say things like "It's the cheaper version of Copic" or "It's a cheap marker". It's not. Promarkers are twin tipped just like Copics and are alcohol based and non toxic, they aren't as expensive as Copic's but they are still pricey.

Pro's:
  • Multi Surface application 
  • Bright and Bold
  • Can be blended and overlaid to create tone and depth
  • Twin tipped
  • High Quality colour 
  • 148 Colours to choose from
Con's:
  • Not refillable 
  • Have a certain strange scent
  • Can leak 
My experience with Promarkers: 

I first started using Promarkers in late 2013, I found out about them when watching a fashion illustration channel called FSketcher. Every since then they have helped me a lot. I saw a significant improvement in my drawings when they came along. I have bought so many Promarkers, I think I have around 60, and I have bought most of them individually and with them costing around £1.50 Each that's more than £60 spent on them. As they were my first markers I really did fall in love with them. Most of my Promarkers come from either Ebay, ArtDiscount.com or Hobbycraft (however they're overpriced there at £2.50 each. 

Is the product accessible to it's audience?

Both Copic's and Promarkers are for people who love drawing and want to create realism in their drawings. Both markers are ideal for: 
  • Manga Artists
  • Fashion illustrators
  • Graphic designers 
Is it well worth the price? 

Copic:

I think Copic's are a little overpriced, there's nothing they do that promarkers don't do (except refill). It's just that copic has the name. Anyway they are worth buying because they are like the King of markers. They are quite pricey but if your art looks the part, you might just end up Earning back what you paid to get Copics.

Promarkers: 

Definitely. Promarkers aren't that expensive and they serve it's purpose, they last for a while (depends how much you use them).

To conclude, they're both good markers. If you're looking for a starter type of thing go for Promarkers, once your familiar with them invest in Copics. 

I now have both these products so if you want to ask me any questions about them please do comment. I hope you guys enjoyed this post, Please comment, share and do follow my blog via GFC and i'll follow back. 

Lauren x